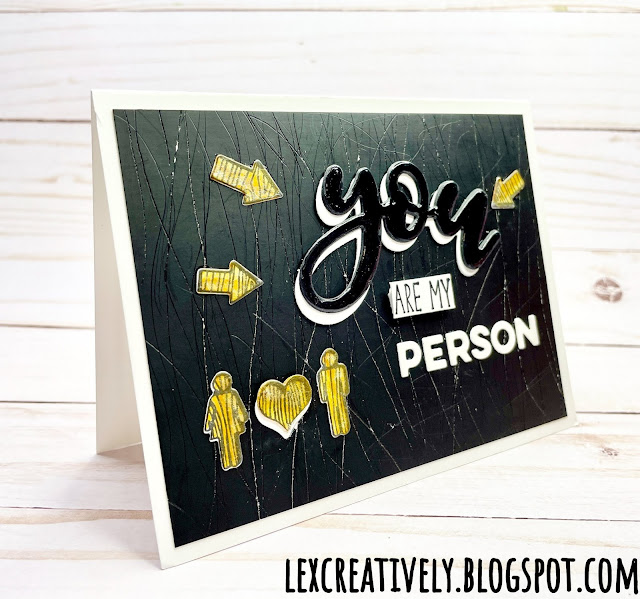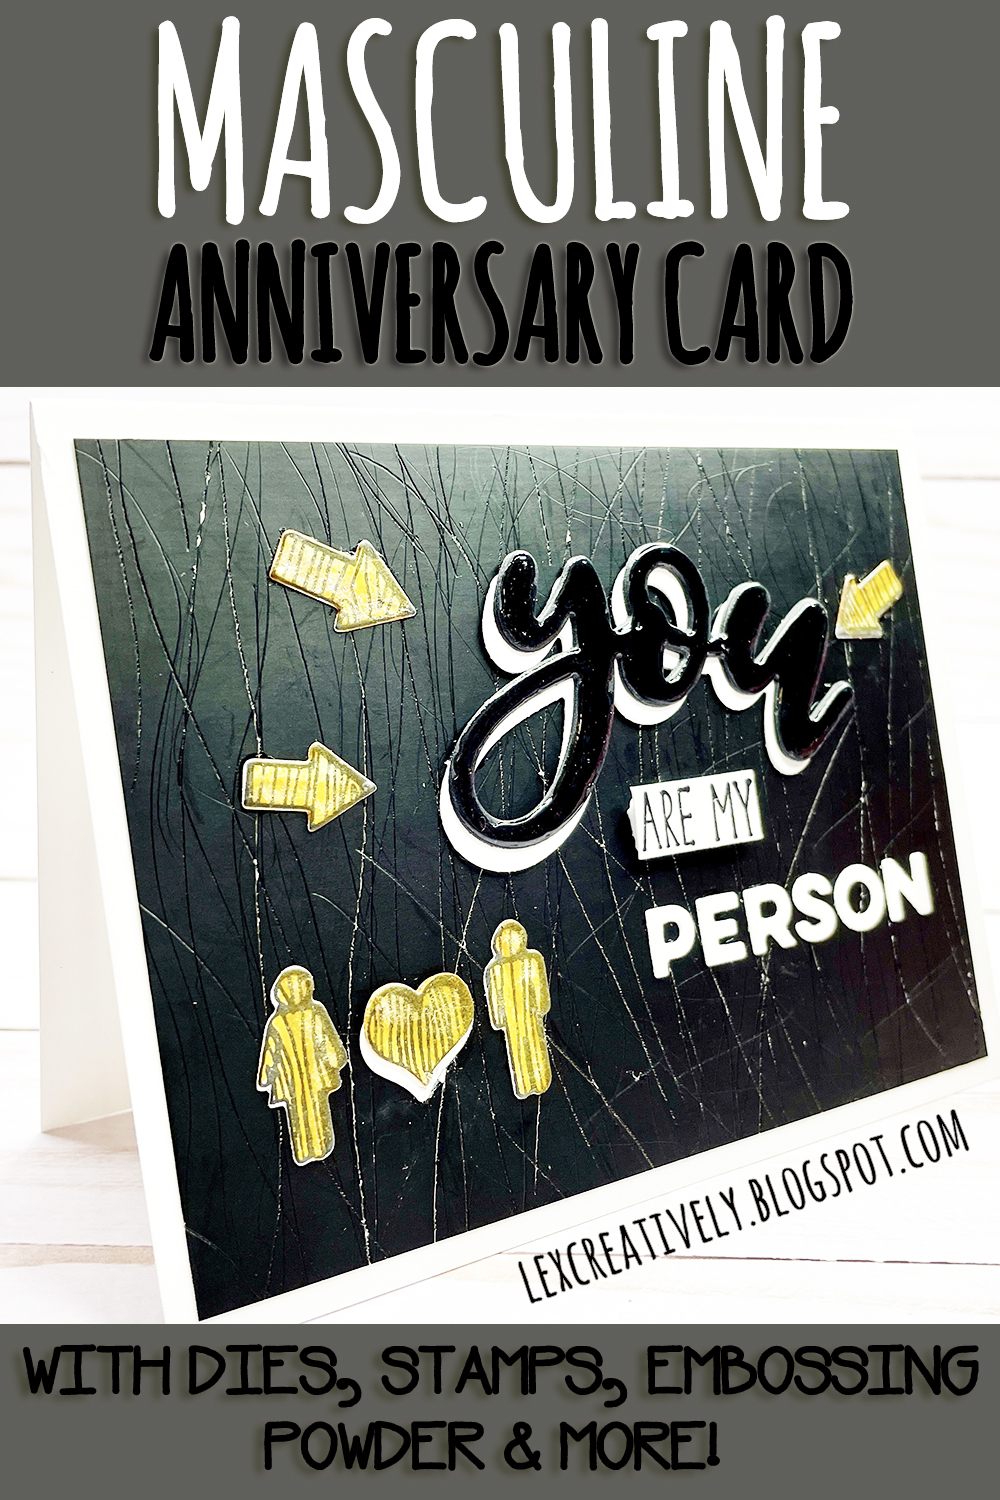
I started out with some black matte mirror cardstock, and cut it down to 4" x 5.25" with my trimmer. This particular piece was a scrap and here were some finger smudge marks on it, but I did not want it to go to waste, so I took a piercing tool, and made lines in the paper. I thought that made it a little more "manly" or at least grungy anyway!
Next, using my mini die cutting machine, I used a "you" sentiment die, which was cut from some old black cardstock I had from back in the 2000s from Creative Memories. I cut out three for some dimension, especially because this paper was not very thick. I glued those together, and then cut one more out of white cardstock to make a shadow layer to glue on the back. Next, I used smaller alphabet dies for "person" cut out of white cardstock.
For the arrows, heart, and man and woman symbols, I stamped first with black ink, then did the die cuts, but had trouble getting the dies cut even with the stamps because they were pretty tiny. I ended up using those to test different colors and glitter pens though, so that was helpful! I then went to trusty YouTube and found a die cutting trick from Catherine Pooler! It basically involves cutting the die, which I had already done! Then stamp on another piece of paper, and then using the outline of the first die cut to position your die perfectly! It worked!
I then used a dark yellow-ish light brown-ish watercolor marker to color to make it look like wood with some shading. Then I used a glitter brush pen over top to give them a little bling!
Then, I used a random wood block stamp I got on clearance somewhere recently that says "you are my sunshine" to get the "are my" part of my sentiment. By the way, I had already removed the red rubber stamp and foam off the wood block, and put Tack-It Over & Over on the back of the foam and let it dry 24 hours, so that I could use it in my stamping tool! I inked up just around those the "are my" with more black ink, and stamped a few times on white cardstock with my MISTI, and then again with embossing ink. I used some clear embossing powder over it (I am fairly certain I forgot to use anything anti-static, so I lucked out!) After heat setting it, I used my trimmer to cut it down to the “are my.”
I then glued all my die cuts on to the panel. My alignment could have been better, but once you glue to first few things down, you are kind of stuck with it! Since I had extra die pieces that I tested markers on, I decided to use the back-side of one, where it was just just white, to emphasize the heart. I also ended up using foam tape cut with my dedicated scissors to pop up the "are my" part of the sentiment. Then I used glossy accents to cover the black part of the "you" and the letters of "person" because why not?!? (and I am super obsessed with glossy accents on sentiment dies these days!)
Finally, once dry, I glued the panel to a pre-cut and scored A2 card base from white cardstock, on which I stamped "happy anniversary" on the inside of the card with black ink and my stamping tool (which the inside can be seen in the video below... plus, always gotta try to show off that bling!).
✨ Look at the shine & texture in the video! ↓↓↓ ✨
- Aleene's Tack-It Over & Over
- Altenew - Faux Veneer Stamp & Die Bundle
- American Crafts - We R Memory Keepers - Mini Evolution
- Bearly Art - Precision Craft Glue
- Bira Craft - Multi-Purpose Scoring Board
- Brutus Monroe - Detail Ink - Raven
- Brutus Monroe - Embossing Ink
- Clear embossing powder
- Dollar Tree - Crafter's Square - Pop Dot Tape
- Heffy Doodle - Classic Sentiments
- My Favorite Things - All About You Die-namics
- My Favorite Things - Captions Alphabet Die-namics (retired, but still available at Frantic Stamper)
- My Sweet Petunia - Mini MISTI
- Neenah - 110lb Classic Crest Cardstock
- Paper Source - Embossing Heat Tool
- Ranger - Glossy Accents
- Scrapbook.com - Glitter Brush Marker - Clear Shimmer
- Spellbinders - Tool 'n One
- Tonic Studios - Nuvo - Aqua Flow Pen - Woodland Walk - Yellow Ochre 928
- Tonic Studios - Craft Perfect - Satin Mirror Card - Black Velvet
- Tonic Studios - Tim Holtz - 8.5 inch Trimmer
- Westcott - Straight Titanium Bonded Craft Scissors with Micro Tip
- Whimsies & Wishes - American Art Stamp WW3309 - "You Are My Happy Place" (retired)
CHALLENGES ENTERED:
Use Your Stuff: #426 - Black & White with a Pop of Color
A Place to Start: July 2021 Challenge #7 - Craft Your Favorite Holiday


Such a lovely card and I'm sure your partner appreciated it. Thanks for joining us at UYS.
ReplyDeleteCongratulations! You were selected as a Rising Star at A Place To Start for the week of July 26-31, 2021! Thanks for a wonderful submission to our challenge. Please stop by our blog and grab your badge!
ReplyDeleteTHE RESIDENT DESIGN TEAM